Implement Health Checks Middleware in ASP.NET Core
Introduction
ASP.NET Core provides an appropriate Middleware which enables you to make aware of the state and health of your applications, API endpoints, containers, or microservice components that are running on the production environment and working correctly, so this feature in ASP.NET Core is telling us about the availability our applications and its normal functionalities. This article will explain how to configure the (Health Checks Middleware) for monitoring the health of your application.
In this article, we will create a web app called (UIHealthChecksApp) that monitors the health (WebApp_1, WebApp_2) web apps.
Step 1
Create a new solution along with three apps in Visual Studio Code.
dotnet new sln -n HealthChecksSolution

dotnet new mvc -n UIHealthChecksApp

dotnet sln add HealthcheckerApp

dotnet new mvc -n WebApp_1

dotnet new mvc -n WebApp_2

dotnet sln add WebApp_1 WebApp_2
Step 2
On the UIHealthChecksApp we need to install (AspNetCore.HealthChecks.UI) dependency package to display the health checks result.
dotnet add package AspNetCore.HealthChecks.UI --version 5.0.1
Also, we install another dependency package called (AspNetCore.HealthChecks.UI.InMemory.Storage) This package enables us to keep all history of the events in-memory database that will occur in other web apps.
dotnet add package AspNetCore.HealthChecks.UI.InMemory.Storage --version 5.0.1
Step 3
To enable the UI health checks we should register two services of (UI Health Check) in the Dependency Injection Container under the ConfigureService method.
services.AddHealthChecksUI()
        .AddInMemoryStorage();
Step 4
The Health Checks UI-Webapp needs a separate endpoint to display the results so we add another endpoint to the (UseEndpoints) middleware pipeline in the Configure method (startup.cs).
endpoints.MapHealthChecksUI();
MapHealthChecksUI() method will generate healthcheck-ui URL to access results.
You can also change the (healthcheck-ui) URL to a different name like this one
MapHealthChecksUI(u => u.UIPath = "/myfavorite-ui")
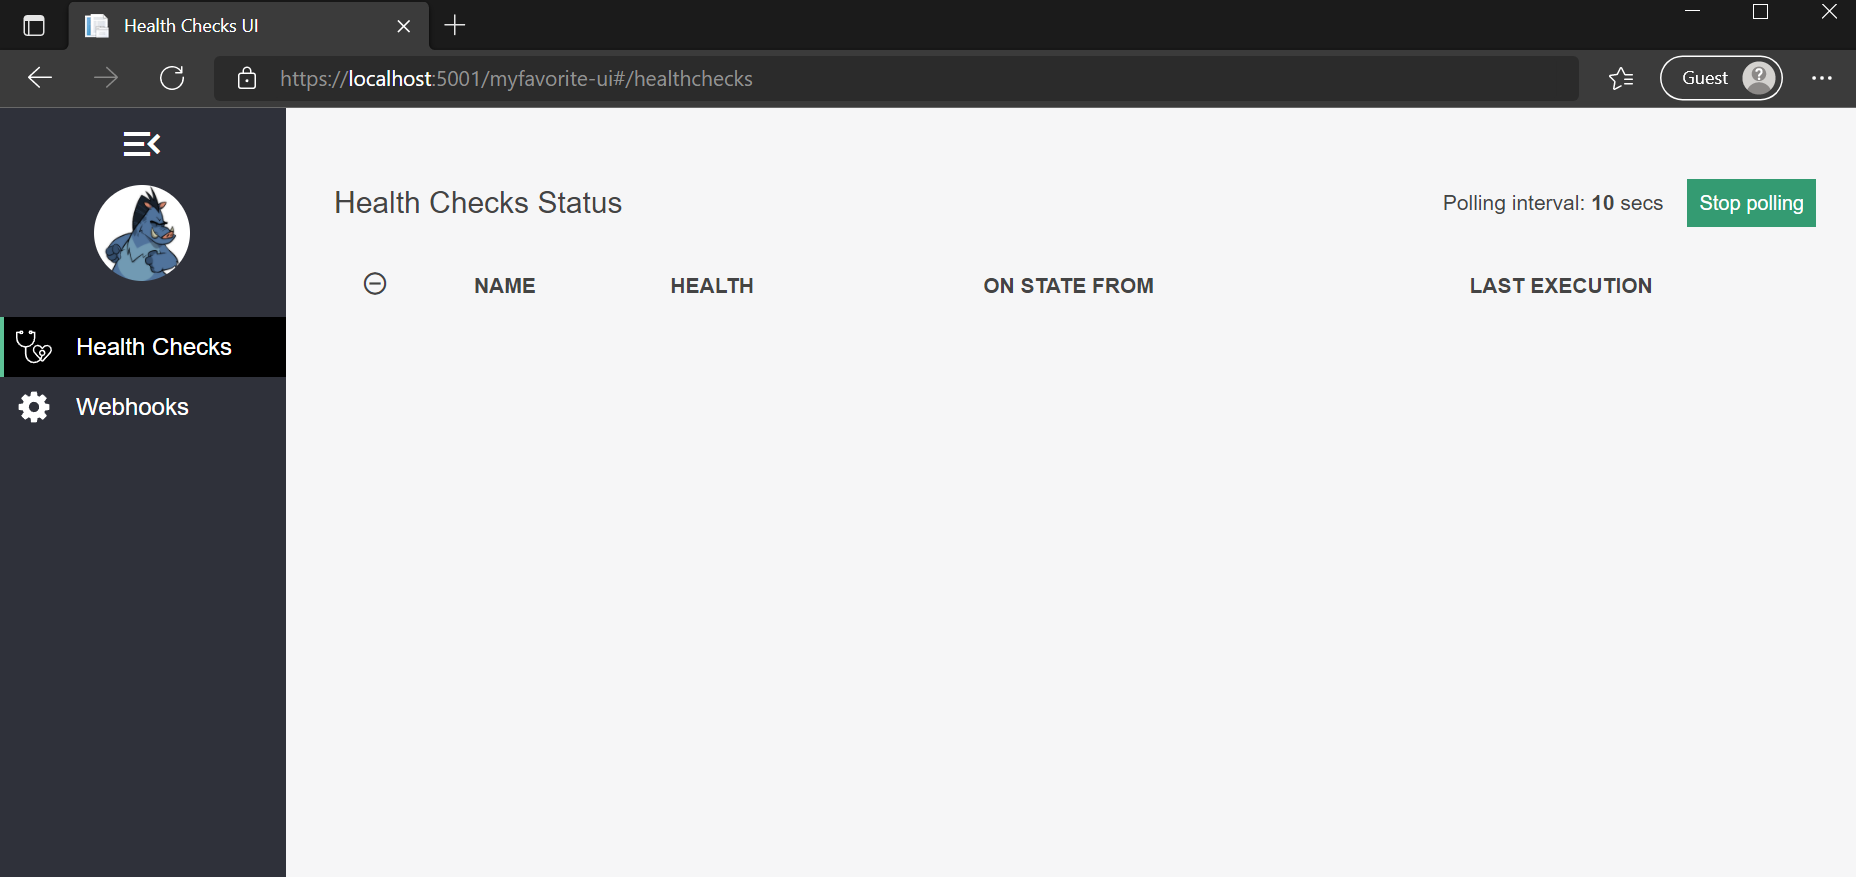
Run the (UIHealthChecksApp) to ensure everything is working fine so far it should have the following result.
https://localhost:5001/myfavorite-ui
Step 5
We will register the Health Checks services for each one (WebApp_1, WebApp_2) in this article we’re going to use only (SQL Server connection, Memory, and Uri) Health Checks you can find a bunch of dependency packages through this great repository
Add the below dependency packages to enable the health checks on (WebApp_1, WebApp_2).
dotnet add package AspNetCore.HealthChecks.SqlServer --version 5.0.1

dotnet add package AspNetCore.HealthChecks.System --version 5.0.1

dotnet add package AspNetCore.HealthChecks.Uris --version 5.0.1
Now we have to register the Health Checks services to the Dependency Injection (DI) Container in the ConfigureService method for each (WebApp_1, WebApp_2) in the (startup.cs) file.
public void ConfigureServices(IServiceCollection services)
{
	//Register HealthChecks for sqlserver Connection
	services.AddHealthChecks().AddSqlServer(
		connectionString: Configuration["ConnectionStrings:DefaultConnection"],
		healthQuery: "SELECT 1;",
		name: "Database WebApp1",
		tags: new string[]
		{
			"db",
			"sql",
			"sqlserver"
		});

	//Register HealthChecks for total memory alocated
	services.AddHealthChecks()
		.AddProcessAllocatedMemoryHealthCheck(1024, name: "Memory", tags: new string[]
		{
			"memory"
		});

	//Register HealthChecks for an external endpoint
	services.AddHealthChecks().AddUrlGroup(new Uri("https://localhost:3001/weatherforecast"), "Api endpoint", tags: new string[]
	{
		"endpoint",
		"api",
		"uri"
	});
}
You can create basic Health Checks by using built-in Health Checks Middleware without using any other dependencies just like the following example. remember configuring basic Health Checks are not suitable just like a way to tell us how the Health Checks are working.
services.AddHealthChecks()

	.AddCheck("Database WebApp1", () => HealthCheckResult.Healthy("Database WebApp1 is working Good"), tags: new []
	{
		"db",
		"sql",
		"sqlserver"
	})

	.AddCheck("Memory", () => HealthCheckResult.Unhealthy("Memory is unhealthy!"), tags: new []
	{
		"Memory"
	})

	.AddCheck("Api endpoint", () => HealthCheckResult.Degraded("Api endpoint is very slow or unstable."), tags: new []
	{
		"endpoint",
		"api",
		"uri"
	});
tags parameters are optional they are used to filter our Health Checks by (Predicate) property in the HealthCheckOptions class if we want to display the result of specific Health Checks.
In asp.net core you can create your own custom Health Checks by implementing the IHealthCheck interface, later it should be registered in the services Dependency Injection (DI) Container.
 public class CustomHealthCheck: IHealthCheck
{
	private string url;
	public CustomHealthCheck(string apiUrl)
	{
		url = apiUrl;
	}
	public async Task <HealthCheckResult> CheckHealthAsync(HealthCheckContext context, CancellationToken cancellationToken = default)
	{
		using(var client = new HttpClient())
		{
			client.BaseAddress = new Uri(url);
			client.DefaultRequestHeaders.Accept.Add(new MediaTypeWithQualityHeaderValue("application/json"));
			HttpResponseMessage response = await client.GetAsync("/random");
			if (response.IsSuccessStatusCode)
			{
				var responseContet = await response.Content.ReadAsStringAsync();
				return await Task.FromResult(HealthCheckResult.Healthy($ "A healthy result : {responseContet}"));
			}
			else
			{
				return await Task.FromResult(new HealthCheckResult(context.Registration.FailureStatus,
					$ "An unhealthy result, StatusCode : {(int)response.StatusCode}  Reason : {response.ReasonPhrase}"));
			}
		}

	}
}
The custom Health Checks should be registered in the services Dependency Injection (DI) Container like the following.
services.AddHealthChecks()
	.AddCheck(name: "CustomHealthChecks", new CustomHealthCheck("https://api.quotable.io"),
		tags: new string[]
		{
			"customEndpoint",
			"api",
			"quot"
		});
Step 6
Adding Health Checks endpoint in the Configure method (startup.cs) (app.UseEndpoints) for each (WebApp_1, WebApp_2) they should have a separate endpoint to get the results of the Health Checks.
WebApp_1
 endpoints.MapHealthChecks("/webapp1_health", new HealthCheckOptions()
 {
 	Predicate = _ => true,
		ResponseWriter = UIResponseWriter.WriteHealthCheckUIResponse,
 });
WebApp_2
 endpoints.MapHealthChecks("/webapp2_health", new HealthCheckOptions()
 {
 	Predicate = _ => true,
 		ResponseWriter = UIResponseWriter.WriteHealthCheckUIResponse,
 });
You can filter the Health Checks endpoints to return a specific result of the Health Checks for example Memory or API tags as already it has mentioned in step 5
Predicate = (hc) => hc.Tags.Contains("memory") || hc.Tags.Contains("api")
Now we have two new endpoints for each (WebApp_1, WebApp_2) that return their health check result in JSON format.
https://localhost:1001/webapp1_health

https://localhost:1001/webapp2_health
Step 7
Display Health Checks results as UI friendly to display Health Checks results of the (WebApp_1, WebApp_2) they should be configured over the (UIHealthChecksApp)
There are two ways to configure it by using AddHealthChecksUI(setupSettings: setup =>) method or through the appsettings.json file in (UIHealthChecksApp) web app.
 services.AddHealthChecksUI(setupSettings: setup =>
 {
 	setup.AddHealthCheckEndpoint("WebApp_1_endpoint", "https://localhost:1001/webapp1_health");
 	setup.AddHealthCheckEndpoint("WebApp_2_endpoint", "https://localhost:2001/webapp2_health");
 	setup.SetEvaluationTimeInSeconds(10);
 	setup.SetMinimumSecondsBetweenFailureNotifications(60);
 });
appsettings.json
 "HealthChecksUI":
 {
 	"HealthChecks": [
 		{
 			"Name": "WebApp_1",
 			"Uri": "https://localhost:1001/webapp1_health"
 		},
 		{
 			"Name": "WebApp_2",
 			"Uri": "https://localhost:2001/webapp2_health"
 		}

 	],
 	"EvaluationTimeInSeconds": 10,
 	"MinimumSecondsBetweenFailureNotifications": 60
 }
EvaluationTimeInSeconds:10 This setting enables our UI Health Checker app to capture updates every 10 seconds.
MinimumSecondsBetweenFailureNotifications: 60 This setting is used to prevent receiver flooding of requests.
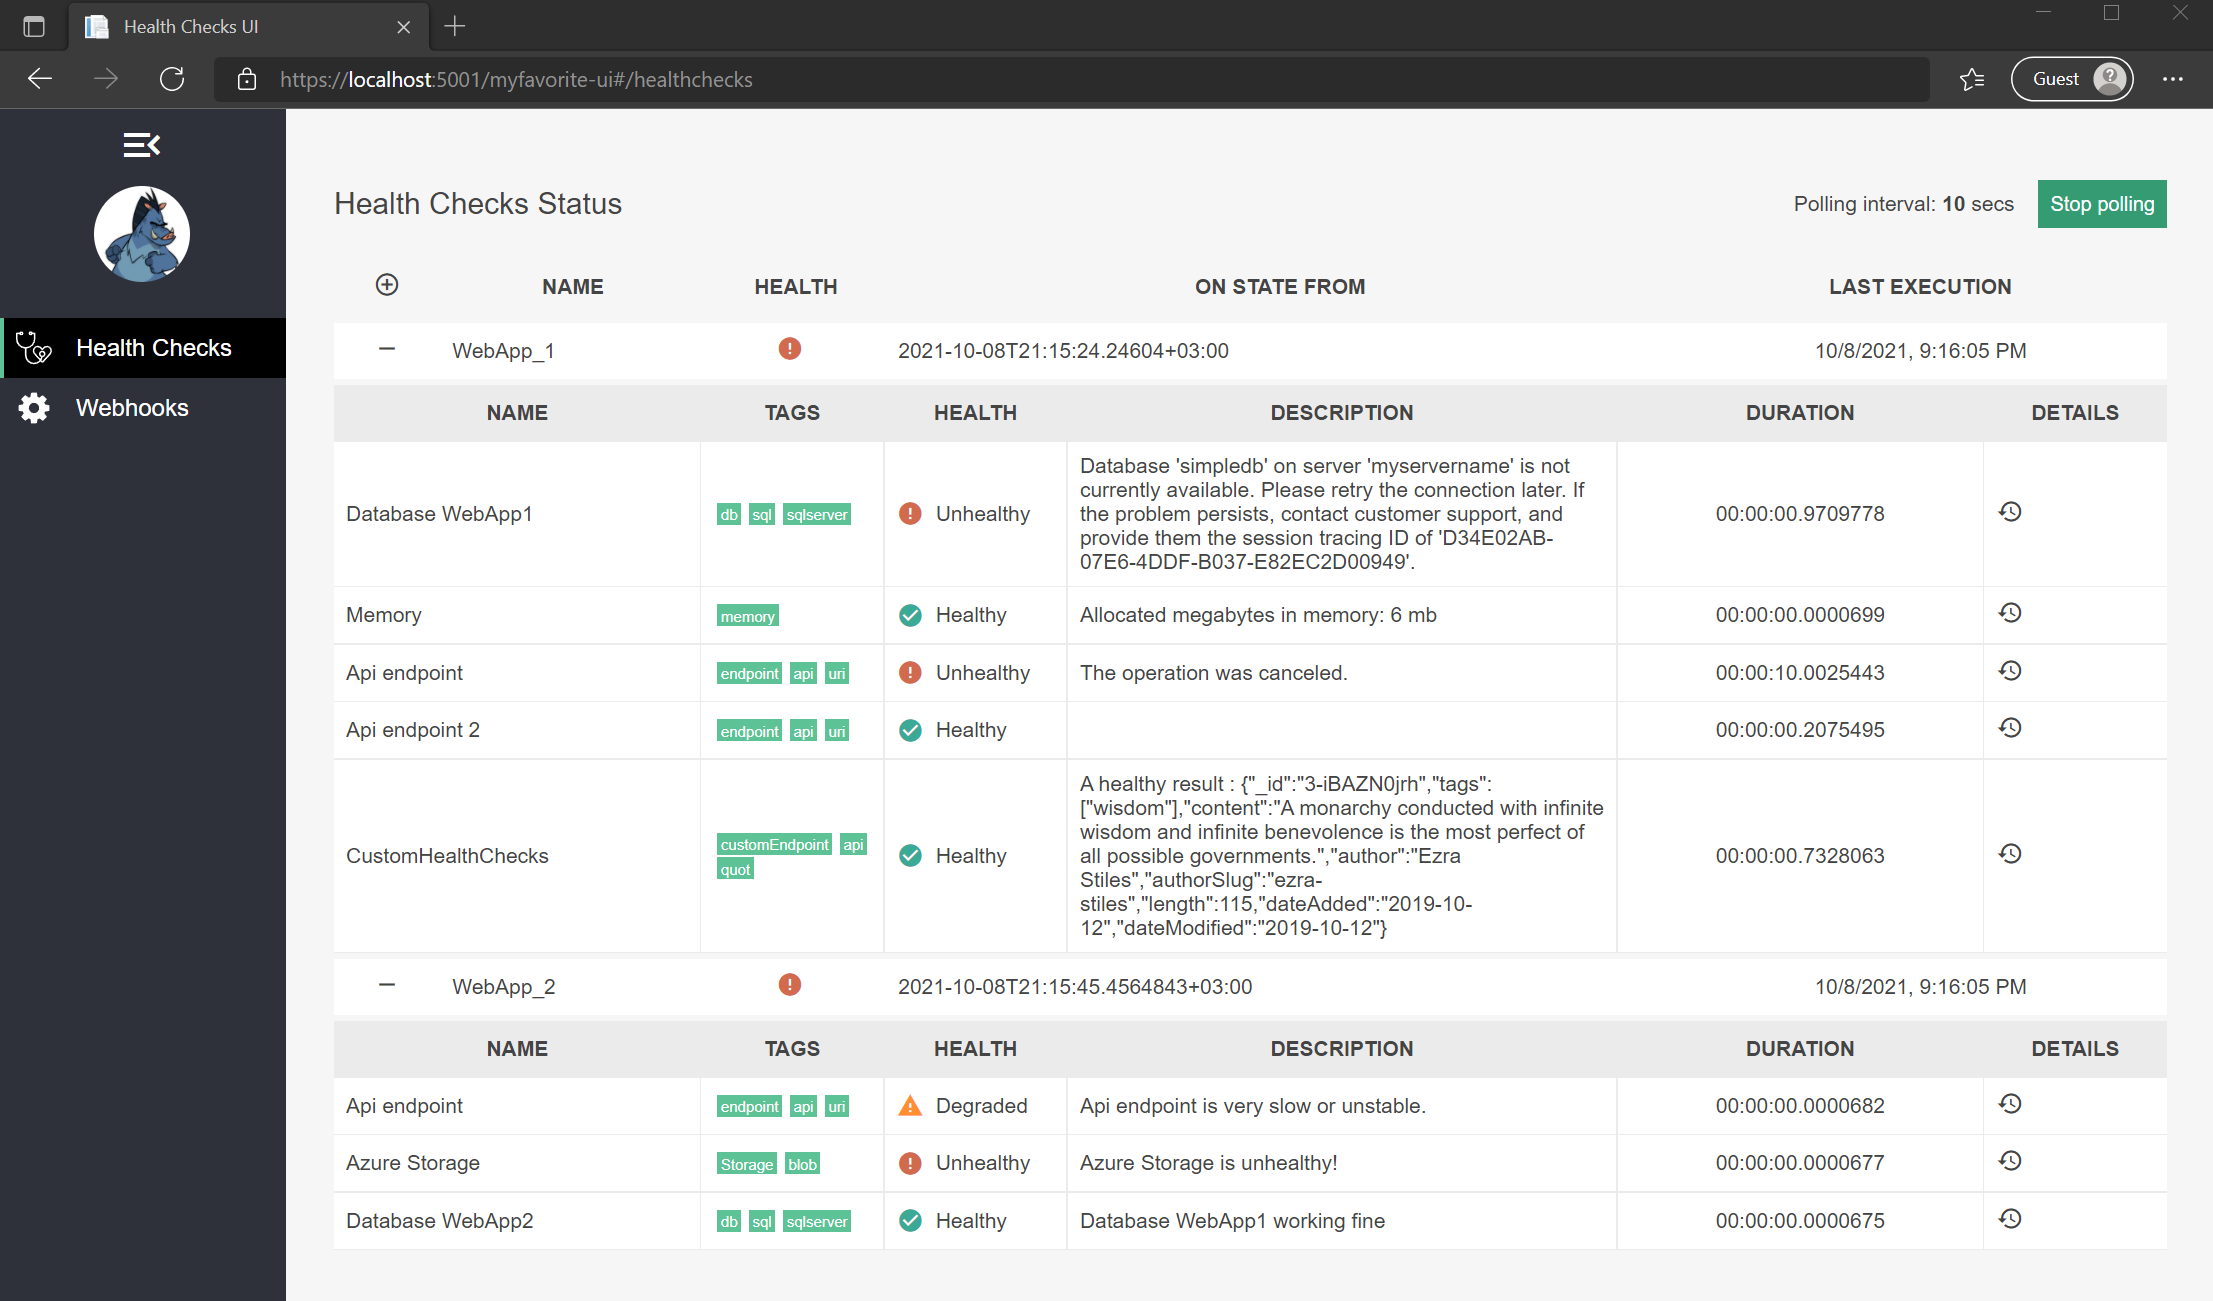
To see the entire result of the Health Checks so far we can run the following URL.
https://localhost:5001/myfavorite-ui
The source code of the project can be found on this GitHub repository.